How to Create and Market DIY Jewelry Kits
As a jewelry creator, you understand the unique satisfaction of wearing a piece you've crafted yourself. Imagine sharing that joy with others through DIY jewelry kits. By offering these kits, you not only extend the pleasure of jewelry making to a wider audience but also open up new avenues for creativity and market expansion. In this comprehensive guide, we'll delve into the process of creating and selling your own DIY jewelry kits, empowering you to reach new customers and amplify your brand's presence in the ever-evolving world of jewelry design.
Step 1: Understand Your Target Audience
To craft successful DIY jewelry kits, it's essential to understand the needs and preferences of your target audience. Beginning crafters may have limited experience and may be intimidated by complex techniques. To serve novice jewelry makers, focus on creating kits that are easy to use, accessible and include clear instructions to guide them through the process. On the other hand, seasoned artisans could be thrilled to uncover all the elements required for a spectacular creation bundled conveniently together.
Step 2: Choose Your Projects
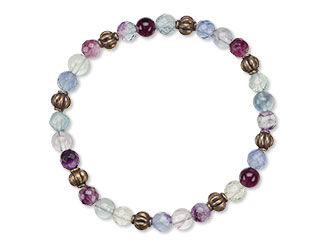
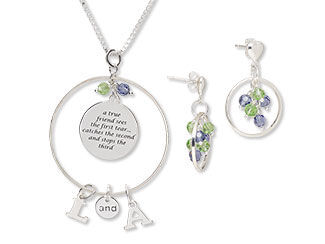
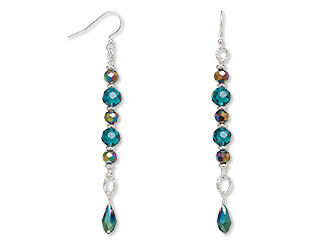
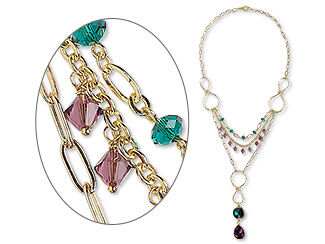
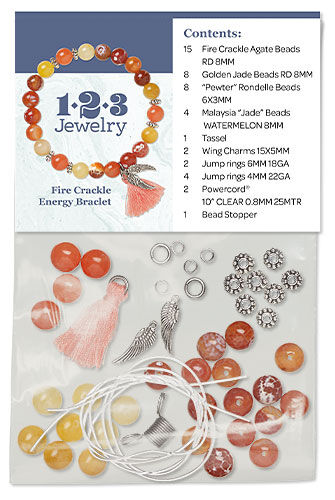
When targeting novice jewelry makers, select projects that are simple to create yet yield impressive results. A beginner who finds joy in their creations will likely return for further exploration in jewelry making. Ideal projects to consider include beaded bracelets, charm necklaces and uncomplicated earrings that require no advanced expertise to complete.
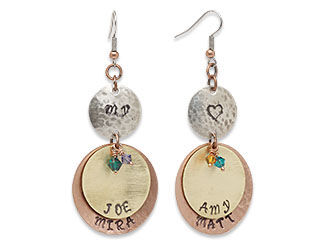
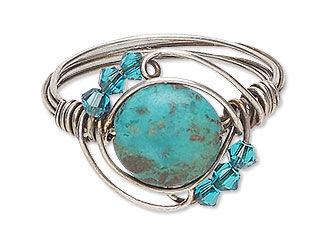
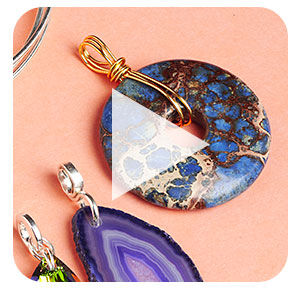
For your more experienced customers, open the doors to more creativity. Include a diverse selection of beads in different shapes, sizes, and colors, accompanied by clasps, wire, and stringing materials. Intermediate crafters can experiment with different bead patterns and arrangements to fashion one-of-a-kind jewelry pieces. Additionally, consider providing projects like a metal stamping kit for crafting pendants and keychains, a wire-wrapping kit featuring an array of stones and wire types, or a versatile kit adaptable to creating an assortment of jewelry styles tailored to your customer's preferences.
Step 3: Assemble Essential Tools and Components
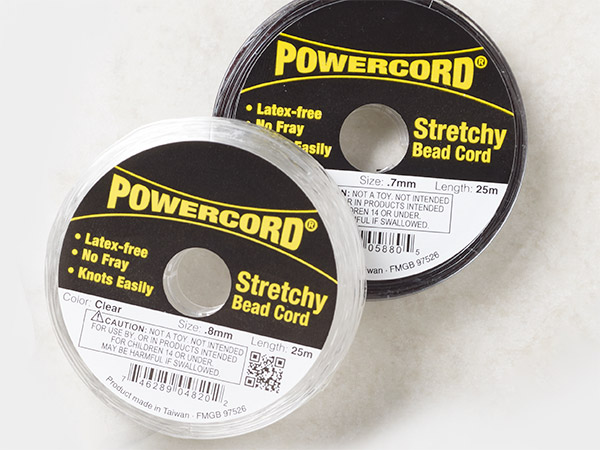
Gather all the necessary tools and components required to complete each project in your DIY jewelry kits. Carefully consider which tools will be needed for each project. You could include basic tools such as pliers, wire cutters and beading needles, along with the beads, findings and stringing materials that will be used to create the finished design. Ensure that the materials are of high quality and suitable for beginners to work with.
Step 4: Create Clear Instructions
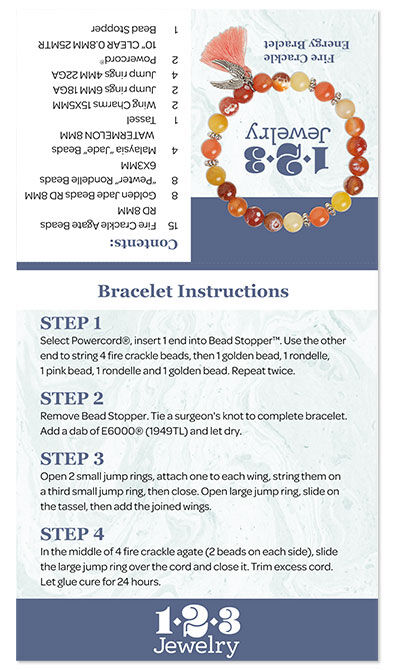
Provide detailed and easy-to-follow instructions for each project included in your DIY jewelry kits. Break down the steps into simple tasks and use visual aids such as photographs or illustrations to demonstrate each step. Include tips and troubleshooting advice to help beginners overcome any challenges they may encounter.
Step 5: Practice Before You Sell
After assembling all the components and drafting the instructions, dedicate time to practice crafting the design exclusively using your kit. Alternatively, consider enlisting someone else to do the crafting. This step will reveal any omissions in your kit as well as any lack of clarity in the instructions. Ultimately, this meticulous approach will ensure that your finished product is exactly what you want it to be.
Step 6: Package and Brand Your Kits
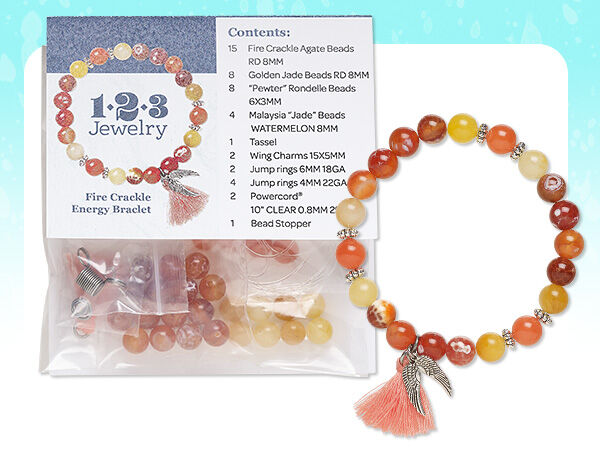
Design attractive packaging for your DIY jewelry kits that reflects your brand identity and appeals to your target audience. Include your logo, branding colors, and a brief description of the contents on the packaging. Consider using clear, resealable plastic bags adorned with informational stickers to give the contents a neat, clear presentation.
Step 7: Offer Additional Resources and Support
Provide additional resources and support to help beginners succeed with their jewelry-making projects. This could include online tutorials, video demonstrations, or access to a community of fellow crafters where they can seek advice and share their creations. By offering ongoing support, you can foster a sense of belonging and loyalty among your customers.
Step 8: Market Your DIY Jewelry Kits
Promote your DIY jewelry kits through your website, social media and other marketing channels to reach your target audience. Highlight the benefits of each kit, such as convenience, affordability and the opportunity to learn a new skill. Consider offering special promotions or discounts to incentivize purchases and generate excitement. And remember to position them strategically near the register if you're selling in person. An enticing new kit is precisely the type of item your customers may be tempted to grab on impulse.
Creating DIY jewelry kits can be a fun and rewarding way to expand your customer base. By offering your customers that chance to engage in the creative process, you will offer them inspiration and education, further strengthening your relationships with them.
Shop for Your Materials Here:
Have a question regarding this project? Email Customer Service.
Copyright Permissions
All works of authorship (articles, videos, tutorials and other creative works) are from the Fire Mountain Gems and Beads® Collection, and permission to copy is granted for non-commercial educational purposes only. All other reproduction requires written permission. For more information, please email copyrightpermission@firemtn.com.
