Extruding Tubes of Clay with the Clay Extruder and Adapters
by Tammy Honaman, Author, Jewelry-Making Expert and Educator,
Exclusively for Fire Mountain Gems and Beads®
D50T

Instructions
Step 1
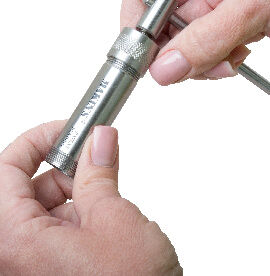
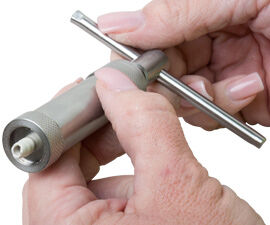
Put the T-handle end onto the barrel of the Makin's Professional® Ultimate Clay Extruder® extruder and tighten into place.
Turn the T-handle until the plunger is close to the bottom end of the barrel, leaving enough room to accommodate the clay.
Step 2
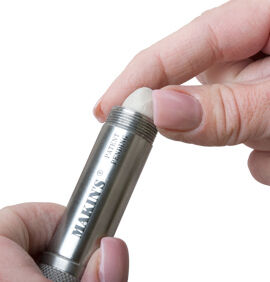
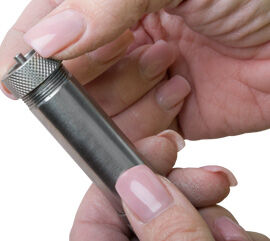
Insert the clay.
Step 3

Place the shaped extruder die (suitable to the diameter of the tube you need for your design) into the bottom cap of the extruder so it sits flush.
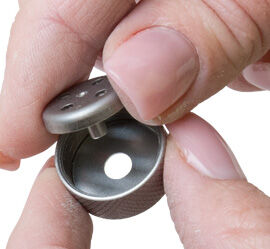
Place the tube adapter (suitable in size to the shaped die so the walls of the tube work for your design) into the bottom cap so the tip of the adapter extends through the shaped die and out past the outside end of the cap.
Step 4
Place the bottom cap onto the barrel and tighten into place.
Step 5
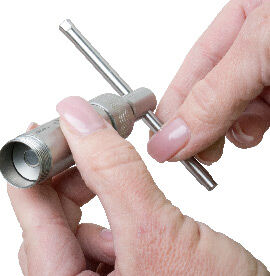
Twist T-handle to extrude the clay tube.
Step 6
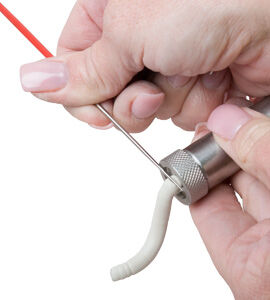
Use a sharp blade or awl to trim the tube around the adapter.
Step 7
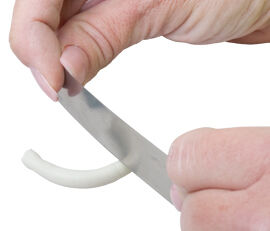
Use a clean sharp blade to trim the tube to size.
Step 8
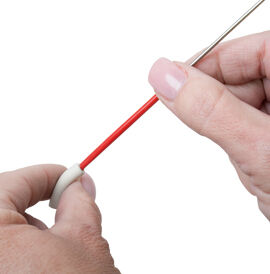
If needed, use a rounded object to open up the ends of the tube.
Have a question regarding this project? Email Customer Service.
Copyright Permissions
All works of authorship (articles, videos, tutorials and other creative works) are from the Fire Mountain Gems and Beads® Collection, and permission to copy is granted for non-commercial educational purposes only. All other reproduction requires written permission. For more information, please email copyrightpermission@firemtn.com.