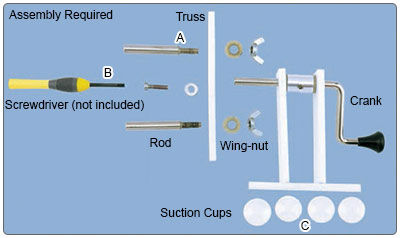
How to Create Tassels Using the Beadalon® Tassel Maker

Tassels are all the rage in jewelry and accessories. Learn how to create your own custom tassels with the Beadalon® tassel maker and threading of your choice.
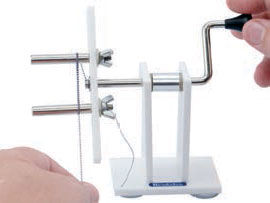
Initial Setup
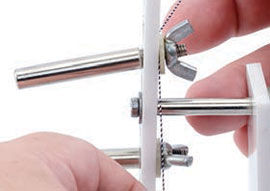
Step 1
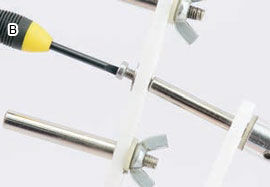
Insert one of the rods into the truss. Add a washer, then screw-on the wing nut to secure. Do the same with the other rod on the opposite end of the truss. These are adjustable to achieve the desired length of your tassel.
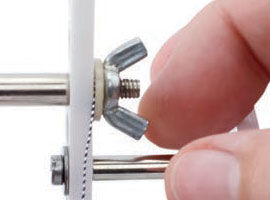
Step 2
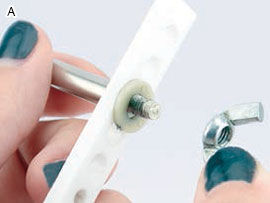
Next, put the washer on the screw and insert it into the center of the truss. Take a flathead screwdriver and screw-it into the shaft of the crank.
Step 3
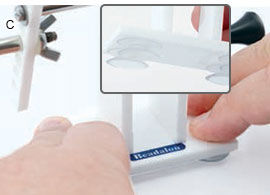
Finally, push the 4 double suction cups onto the base of the tassel maker at each of the four corners (make sure suction cups are clean and free from dust). This may require slight moisture for proper suction. Push the tool down onto a non-porous surface to securely adhere for proper tassel making.
Tip: Use a plate or other item if a non-porous surface is not available.
Tassel Making Instructions
Step 1
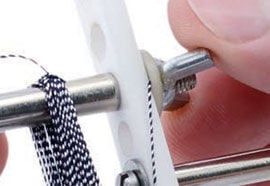
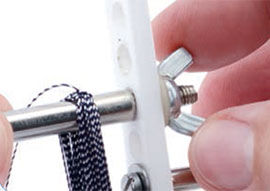
Choose the desired thread or cord that you desire. Unscrew one of the wing nuts enough to catch a piece of the material between the washer and the truss, leaving about 3 - 4 inches (7.6 -10.1 cm) extra for a tying tail.
Step 2
Tighten the wing nut to secure the tying tail onto the tassel maker.
Step 3
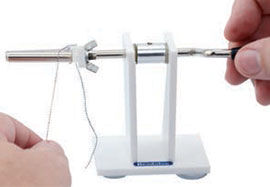
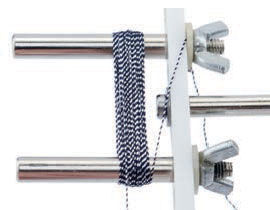
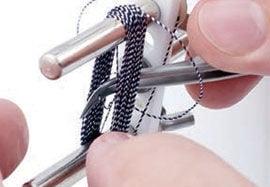
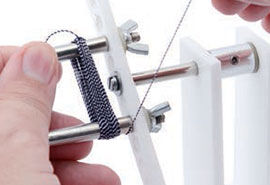
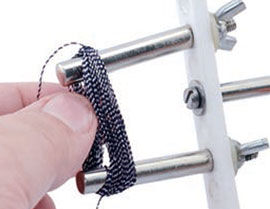
Wrap the material by holding it with one hand and turning the crank on the handle of the tassel maker.
Step 4
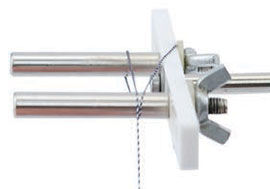
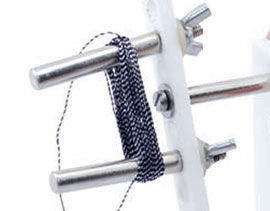
The fastened end of the material will need to cross over the truss and onto the steel bars as shown.
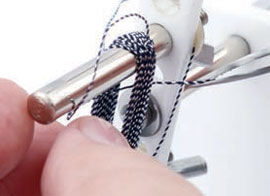
Step 5
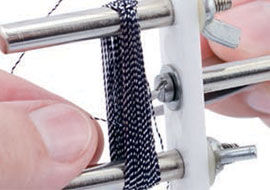
Wrap the material by turning the crank.
Step 6
Continue to wrap until the desired thickness of tassel is reached.
Tip: Count the number of revolutions to allow you to reproduce the equal size tassels later.
Step 7
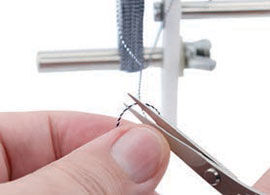
Once the desired number of revolutions has been reached, cut the material and leave 4 inches (10.1 cm) extra length.
Step 8
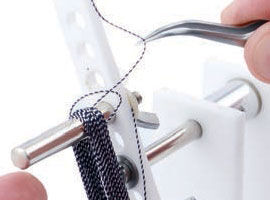
Place the end of the material into the end of pointy tweezers.
Step 9
Push the tweezers and the material through the center of the wrapped material as shown.
Step 10
Bring the loose end back through the loop formed in Step 9, then grasp the end with the tweezers and pull tight.
Step 11
Repeat Steps 9 - 10 to tie another knot to secure the material.
Step 12
Make sure the second knot is pulled tight.
Step 13
Loosen the wing nut that is holding the beginning of the material, gently pull it free, and re-tighten the wing nut.
Step 14
Using the new freed material, repeat Steps 8 - 12 to secure the other side.
Step 15
Make sure the second knot is pulled tight.
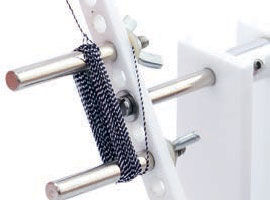
Step 16
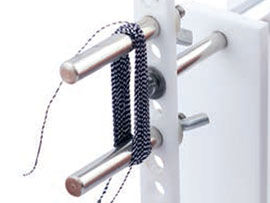
Your current setup should now look something like this.
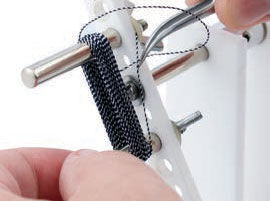
Step 17
Loosen, but DO NOT remove, one of the wing nuts.
Step 18
Once the wing nut has been loosened enough, the peg will angle as shown.
Step 19
Slide the tassel loop off of the tassel maker.
Step 20
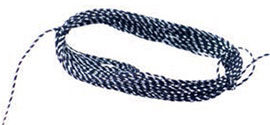
The tassel loop should look like this.
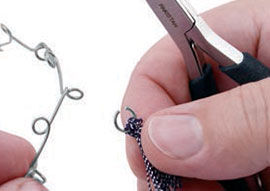
Step 21
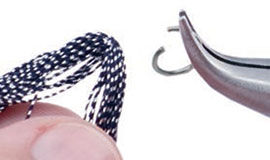
Open a jumpring and scoop up the tassel loop.
Step 22
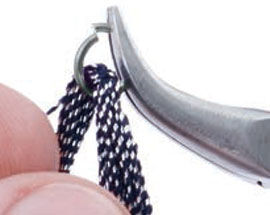
Close the jumpring onto the tassel loop.
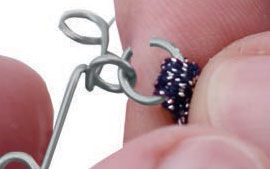
Step 23
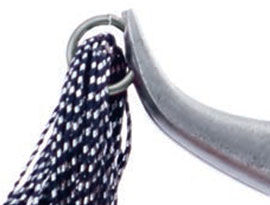
Make sure the jumpring is closed completely so that the tassel material cannot slip through the opening.
Step 24
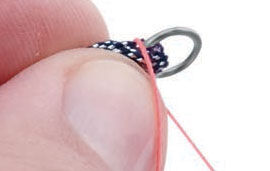
Cut a piece of thread about 12 inches (30 cm) long and begin to wrap around one of the loose ends.
Note: To make these instructions clear, a different color material was used to show the wrapping and tying.
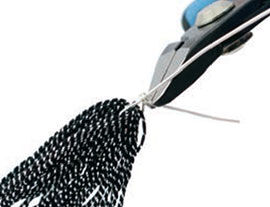
Step 25
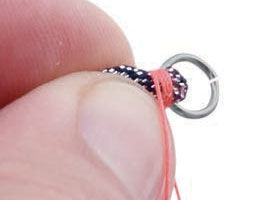
Leaving about a 6 inch (15.2 cm) tail, make several wraps to secure the tassel to the jumpring, make certain that the opening is away from the material.
Step 26
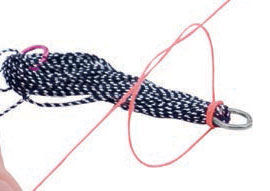
Tie a double knot with the ends of the material used to tie off the end.
Step 27
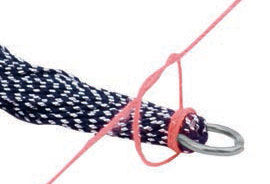
Pull the double knot carefully so that it does not bind.
Step 28
Snug the double knot down to the surface of the tassel material.
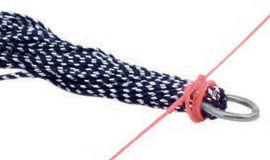
Step 29
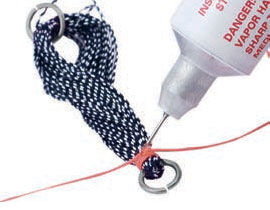
Use a small amount of G-S Hypo cement at the knot. Before cutting the ends allow some time so the glue can dry.
If making a pair of tassels, repeat Steps 21 - 28 on the other side of the tassel loop.
If making a single (long) tassel, cut the other end of the material and trim the ends.
Step 30
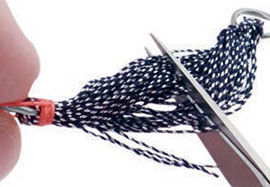
To make a pair of tassels, cut in half with a sharp scissors.
Step 31
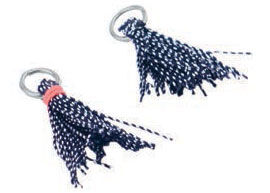
The two tassels should look as shown.
Note: The tassel to the left was tied with the alternate color for illustration purposes.
Step 32
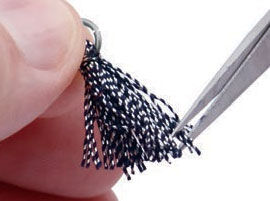
Carefully trim the ends of the tassel to your desired shape. Repeat on the other tassels.
Step 33
Open the jumpring to attach to the design.
Step 34
Move the opened jumpring into place on the design and close the ring.
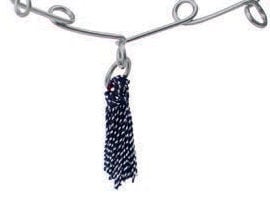
Finished tassel on a design!
Add Cone to Tassel
Step 1

Cut a 6 inch (15.2 cm) length of 22 gauge wire. Place it under the tassel loop at the top and cross the ends. Bend one wire to the side and one wire straight up so they make a 90 degree angle.
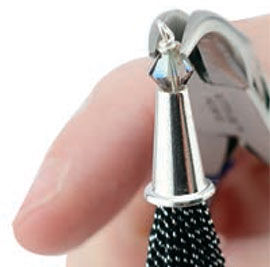
Step 2
Wrap the wire pointing out to the side around the wire that's straight up and down twice, and cut it flush.
Step 3
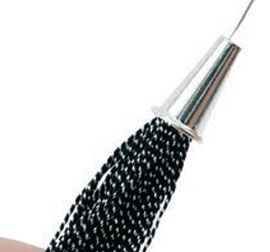
Thread the necklace cone onto the remaining wire.
Step 4
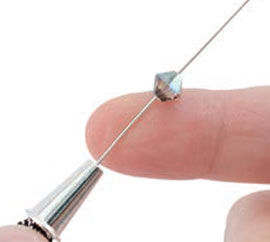
Thread a bead onto the wire.
Step 5
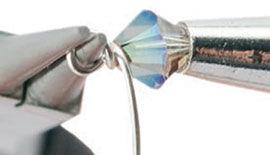
Use round-nose pliers to make a wrapped loop on top of the bead.
Step 6
Finished loop.
Shop for Your Materials Here:


Copyright Permissions
All works of authorship (articles, videos, tutorials and other creative works) are from the Fire Mountain Gems and Beads® Collection, and permission to copy is granted for non-commercial educational purposes only. All other reproduction requires written permission. For more information, please email copyrightpermission@firemtn.com.